

OTP-LIBPAM library for Linux OS family
In this manual we will overview the process of installation and configuration of OTP-LIBPAM library for any of the Linux operating systems in order to allow using two-factor authentication service with sudo mode. This manual is created on CentOS 7 example and can be applied to other Linux systems in the same manner.
Plugin description
The plugin is a Linux-PAM (Pluggable Authentication Module) library that enhances authentication capabilities in the OS. The OTP-LIBPAM plugin adds the requirement of entering the second-factor password of auth.as system in order to perform a privileged action that requires sudo permission. This module is executed after user login and password validation has succeeded. The OS will request one-time password via CLI, which will be generated in a user's mobile app and validated in the two-factor authentication AUTH.AS system.
The plugin communicates with AUTH.AS service via HTTPS using public API. During operation a check_code function is used which receives e-mail of the user, API key of the domain and one-time password. API key of the domain is retrieved from plugin configuration, while one-time password is typed by user interactively.
Plugin installation
Download the RPM-package for yum using AUTH.AS system's repository request:
curl -o /etc/yum.repos.d/auth.as.repo https://repo.auth.as/1.x/auth.as.repo
Add open GPG key to the system:
rpm --import https://repo.auth.as/GPG-KEY-auth.as
Install OTP-LIBPAM plugin (library):
yum install otp-libpam -y
Done, plugin is installed! Now let's configure the plugin and AUTH.AS system.
Plugin configuration
First off, configure the AUTH.AS two-factor authentication system: get API_KEY for domain (OS) you want to protect, and configure the account for sudo-user. You may simply send us a letter to support@auth.as, specify user's e-mail and the rest of AUTH.AS system part of configuration is on us. Should you insist on configuring AUTH.AS system by yourself, just make two clicks:
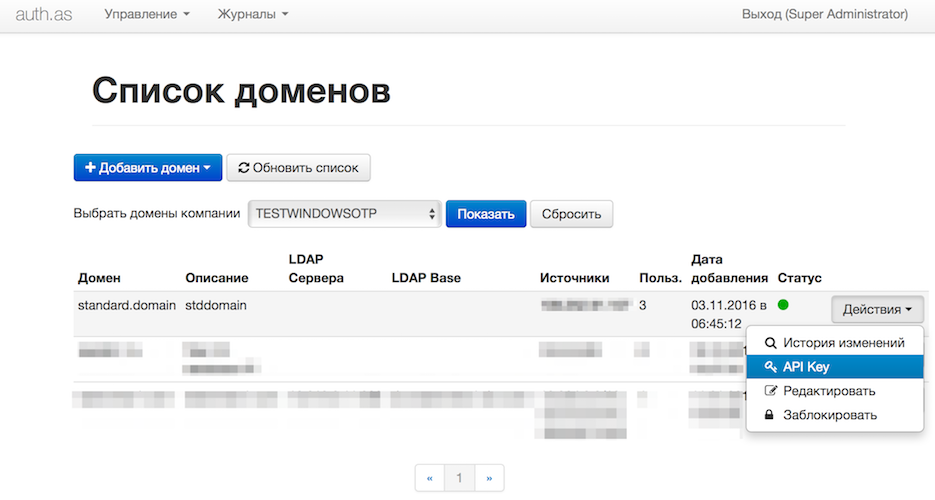
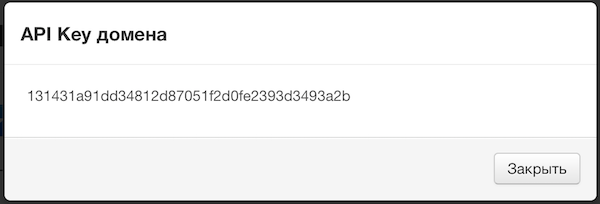
Select the domain, member of which the protected OS currently is. Copy API_KEY for that domain:
Then, add authorized user and assign a token for him:
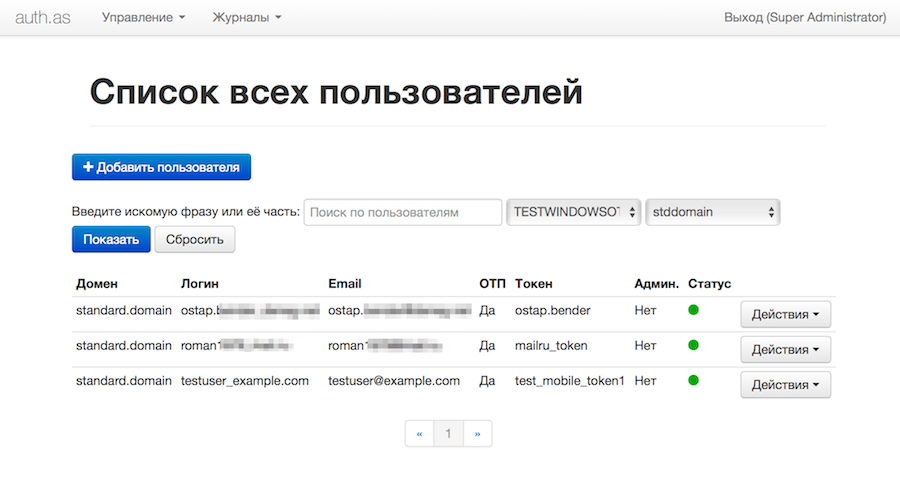
Specified e-mail will receive a letter with further instructions of mobile app installation and configuration. More detailed instructions on configuring the AUTH.AS system are given in User management and Token management articles (available only on Russian, for now).
When one-time passwords token for the given user is set up in the mobile app, we can proceed to the plugin configuration itself. Specify API_KEY value in /etc/otp-libpam.conf file, the parameter API_URL must be specified same as in comment, if you plan to use cloud version of AUTH.AS system:
# AUTH.AS config file
#
# URL address
# API_URL https://console.auth.as/api/v1.0/check_code
#
# domain key
# API_KEY 7815696ecbf1c96e6894b779456d330edr5hsdth
API_URL https://console.auth.as/api/v1.0/check_code
API_KEY myapikeythatihavejustgereratedformylinux
Enable the plugin by editing the file /etc/pam.d/sudo like this:
#%PAM-1.0
# auth include system-auth
auth required pam_otp.so
account include system-auth
password include system-auth
session optional pam_keyinit.so revoke
session required pam_limits.so
If you don't want to enter your e-mail every time you use sudo, enter it in comments section of file /etc/passwd, by changing [email] to the one you have added to auth.as and [username] to the name of your OS sudo-user:
usermod -c "[email]" [username]
To complete, add to /etc/sudoers.d/ this record:
echo '[username] ALL=(root) ALL' > /etc/sudoers.d/[username]
Done! Now, every time you execute sudo under specified OS username, system will interactively ask for a one-time password of two-factor authentication AUTH.AS system.